[ad_1]
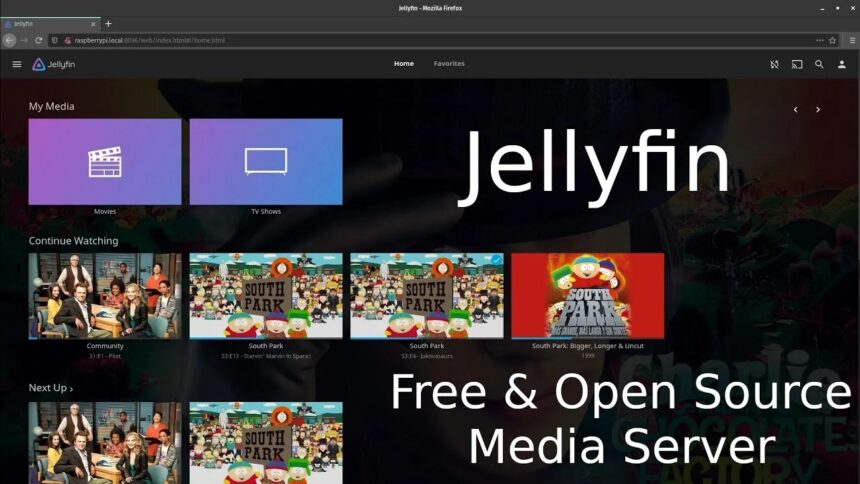
In this article, we are going to show you how to easily install and setup Jellyfin on a PC, and then access it on a streaming device. This is perfect for Amazon Fire TV and Android TV systems.
This is a quick-start guide and we will dive deeper into additional details and use-cases in the near future.

What is Jellyfin?
Jellyfin is an open-source, free media server that lets users organize and stream their personal collections of movies, TV series, family videos, photos, and music from a self-hosted setup to a wide range of devices, including web browsers, mobile phones, smart televisions and streaming devices.
Although we are using a Windows PC in this tutorial, Jellyfin can be installed on macOS, Linux, Docker, .NET, and more!
Every Home Should Have a Jellyfin Server
Most Jellyfin users stream their personal library of movies and TV shows that they have acquired but there is a better use-case in my opinion.
Think of the hundreds of videos and photos that you take on your phone! You can store these on your Jellyfin server and view them on your television in a sleek and organized manner. My dad used to pull out the slide carousel when we were younger and we would spend hours looking at pictures on the white screen that he brought out of the closet. Now we have Jellyfin and can enjoy them on the TV screen!
Better Quality Streaming of Movies & TV Shows
Most TROYPOINT fans use free APKs to stream movies and TV shows but some of the hardcore enthusiasts prefer Jellyfin.
When we ask why people use Jellyfin instead of APKs the general consensus is for better visual and audio quality. Believe it or not, many cord-cutters still rely on torrent technology to gain access to movies and TV shows that they want to view. Some even rip Blu-rays or DVDs onto their Jellyfin server for later playback.
One TROYPOINT fan commented,
“It would be an insult to my home theater system to stream a crappy compressed video file when I can play the uncompressed full quality release through Jellyfin.”
Video Tutorial
Below, you will find both a video tutorial and screenshot guide. We suggest first watching the video as it provides important details not found in the written steps below it. The screenshot guide is meant to outline the general steps outlined in the video.
Video Notes:
File naming formats and recommended external hard drive can be found in written guide below.
Step 1: Create Media Folders for Jellyfin
You’re going to want to make folders for each type of media that you plan to use Jellyfin for.
This includes Movies, Music, TV Shows, Books, and any home videos/photos. This is going to take a lot of storage depending on what you are using, so make sure you account for that when deciding what to computer or external hard drive to use.
Here’s the external hard drive that I use with my Jellyfin server.
Surfshark VPN Exclusive DiscountYour online activity is monitored by your ISP, app/addon/IPTV devs, government, and all websites.
🔒 Become anonymous while streaming & downloading with Surfshark VPN
Save 87% with 24-Month Plan + Get 3 FREE Months
Use on Unlimited Devices & Share 1 Account with Entire Family
CLAIM DEAL HERE
WD 4TB Elements Portable External Hard Drive


Recommended File/Folder Naming for Jellyfin
Be sure to name your movies, TV shows, and music in the proper format so Jellyfin can automatically search the web and find cover pictures for your media.
Movies
In the video above, I don’t use individual folders to store my movies. I put all of my movie files directly under the Movies folder. You may want to create a folder for every movie on your Jellyfin server as follows. This is especially helpful if you have subtitles and other items that come with the movie.
Folder: Movies
-Folder: Best_Movie_Ever (2019)
—Best_Movie_Ever (2019).mp4
—Best_Movie_Ever (2019).nfo
—Best_Movie_Ever (2019).en_us.srt
—cover.png
—theme.mp3
TV Shows
Folder: Shows
-Folder: Series Name A (2010)
–Folder: Season 00
—Some Special.mkv
—Series Name A S00E01.mkv
—Series Name A S00E02.mkv
–Folder: Season 01
—Series Name A S01E01-E02.mkv
—Series Name A S01E03.mkv
—Series Name A S01E04.mkv
–Folder: Season 02
—Series Name A S02E01.mkv
—Series Name A S02E02.mkv
—Series Name A S02E03 Part 1.mkv
—Series Name A S02E03 Part 2.mkv
-Folder: Series Name B (2018)
–Folder: Season 01
—Series Name B S01E01.mkv
—Series Name B S01E02.mkv
–Folder: Season 02
—Series Name B S02E01-E02.mkv
—Series Name B S02E03.mkv
Music
Albums are organized into individual folders, where each folder holds exactly one album. Jellyfin doesn’t impose any specific grouping for albums, as long as every album resides in its own dedicated folder. Filenames typically aren’t a factor, since Jellyfin pulls track information from the embedded metadata. If no metadata is available, though, it falls back to using the filenames as track titles.
Folder: Music
-Folder: Some Artist
–Folder: Album A
—Song 1.flac
—Song 2.flac
—Song 3.flac
-Folder: Album B
—Track 1.m4a
—Track 2.m4a
—Track 3.m4a
-Folder: Album X
—Whatever You.mp3
—Like To.mp3
—Name Your.mp3
—Music Files.mp3


Step 2: Install Jellyfin Server on PC
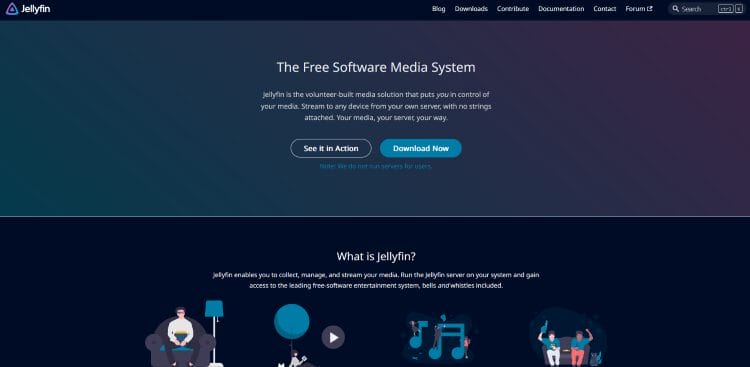
1 Go to https://jellyfin.org and click the Download Now button.

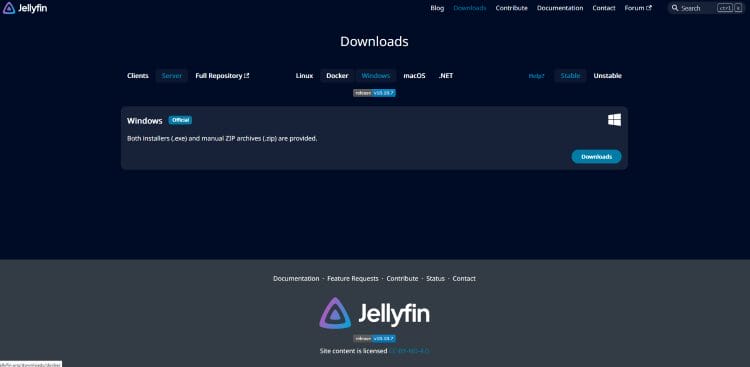
2 Choose your operating system and click Downloads.

3 Most people will choose AMD64. ARM64 is usually meant for older single board computers.
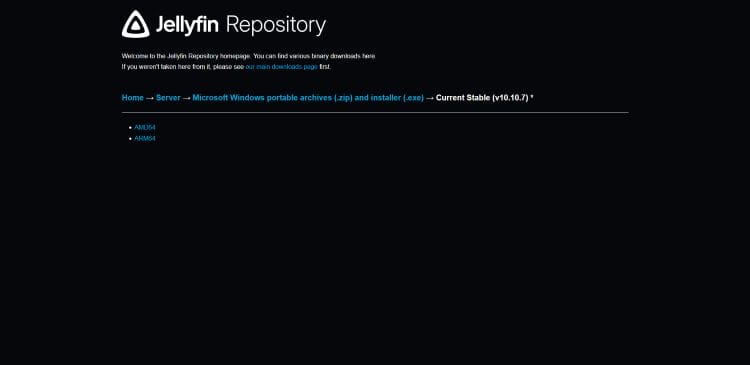

4 Click on the windows-x64.exe file.
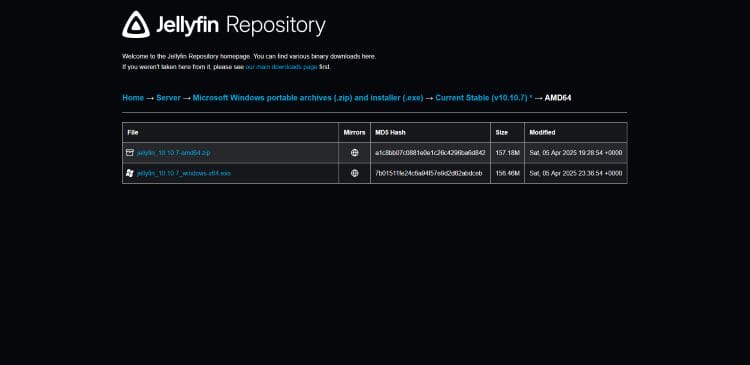

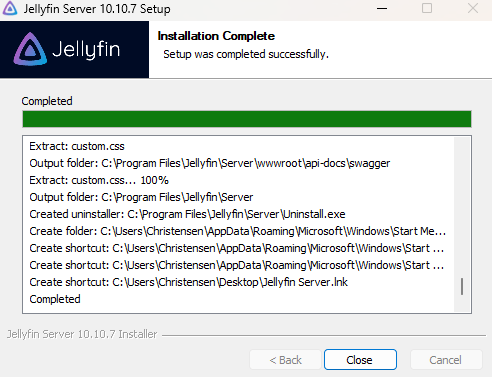
5 After the setup is complete, click on the close button.

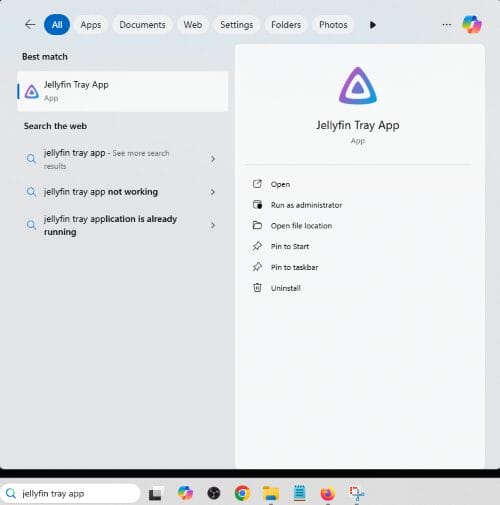
6 Go to the windows search bar and type “Jellyfin Tray App” and select the app.

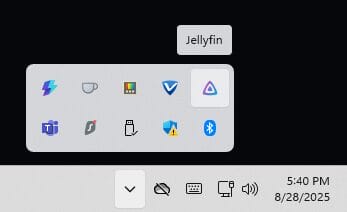
7 Select the arrow at the bottom right of the taskbar and double click on Jellyfin.

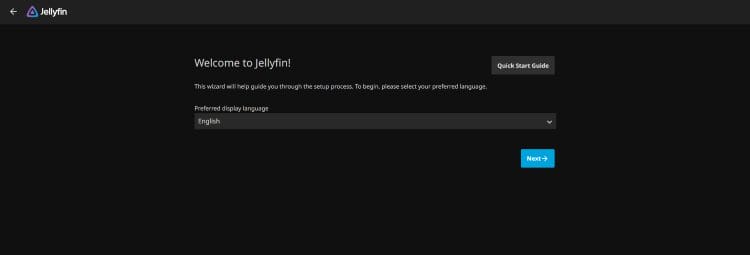
8 When brought to the website, select your language and click next.

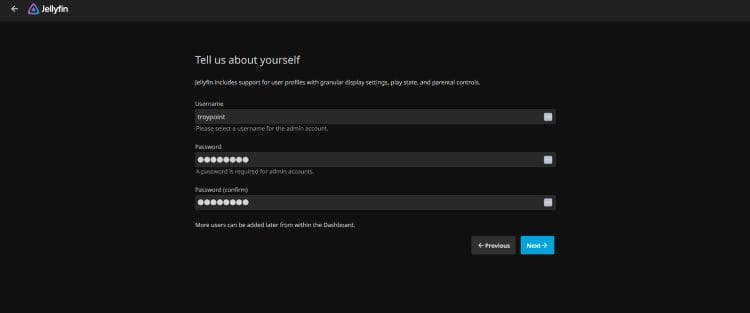
9 Finally, make a username and password then click next. Write this down as you will need it later.

Step 3: Add Media to Jellyfin
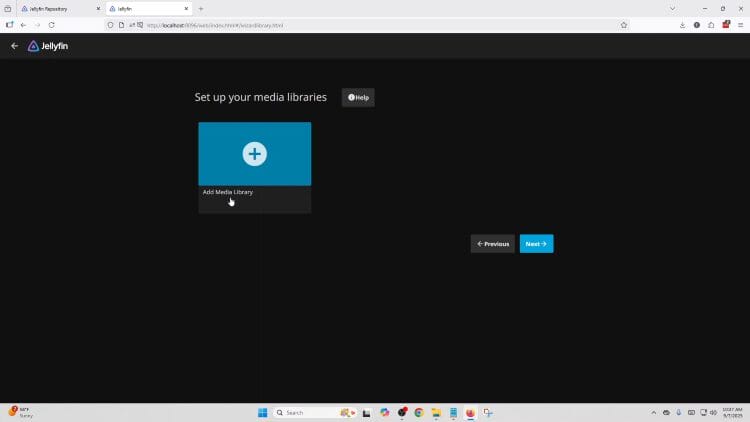
1 To start, click on Add Media Library.

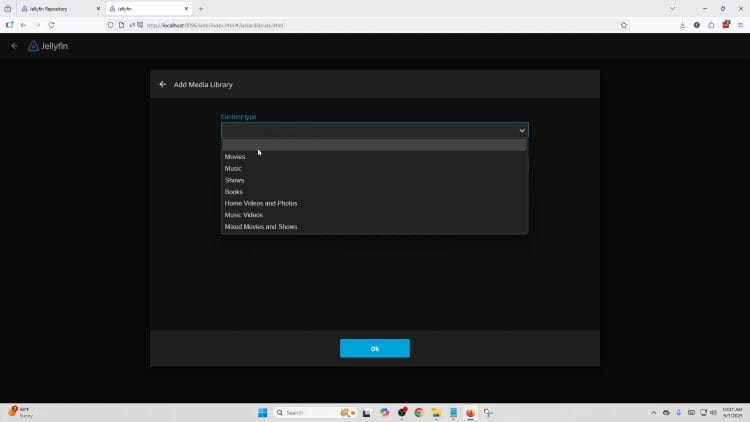
2 Choose what type of media you are going to be adding to the library.

3 Select the drive you have the media on and then find it in your folder.
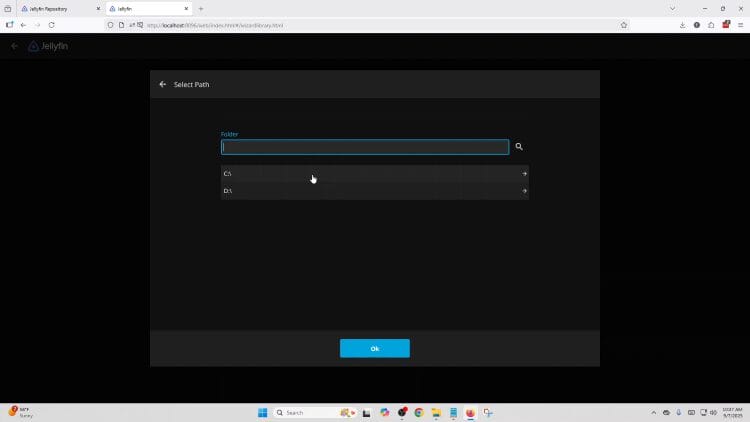

4 Choose your Language and Country that you prefer. The rest of the settings are recommended to be left as they are.


5 After you click OK, you can repeat the steps for your other media libraries.
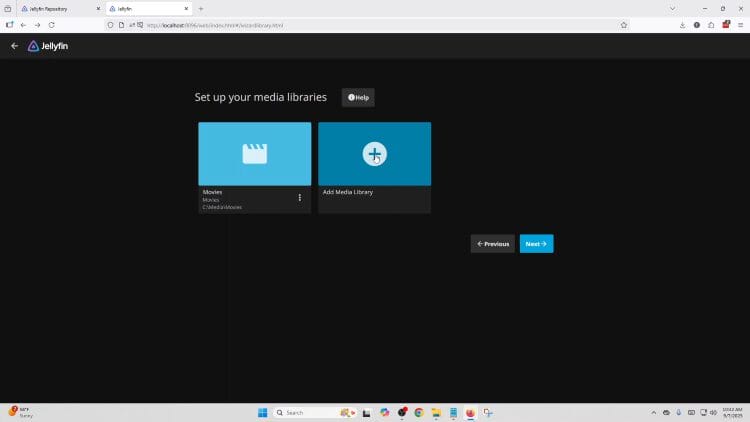

6 When finished, click Next to continue.
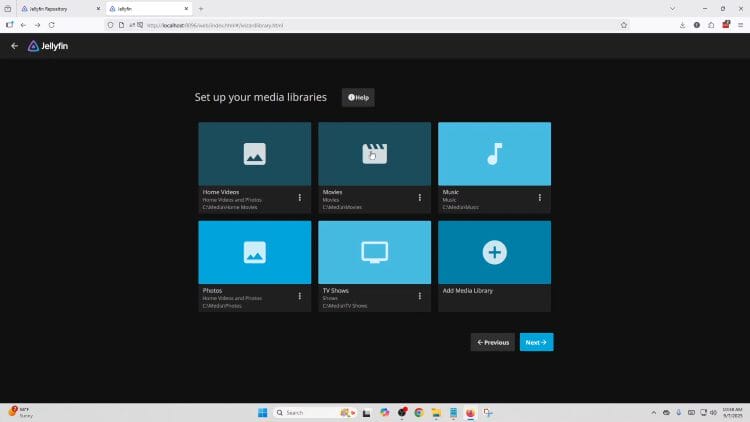

7 You will be asked to choose your preferred Language and Country again.


8 The next screen has two check boxes and we recommend only selecting the first one for now.
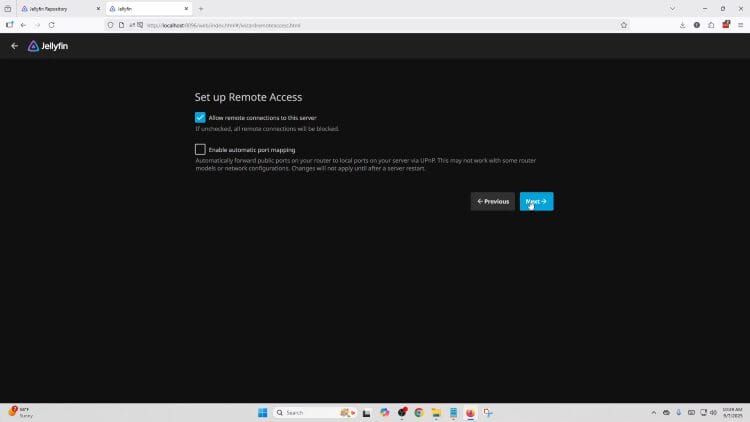

9 Finally you will be prompted to log in again. After this you have access to your media server on your PC and can now access all of your media.
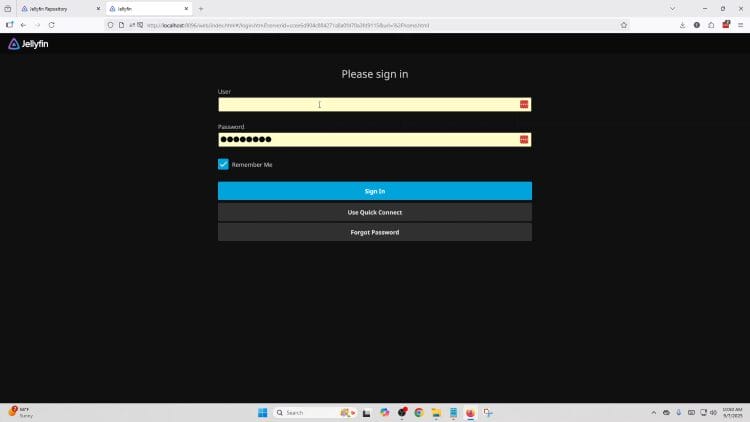

Step 4: Setup Jellyfin Client on Android TV Box/Fire TV
1 First, go to the app store on your streaming device.
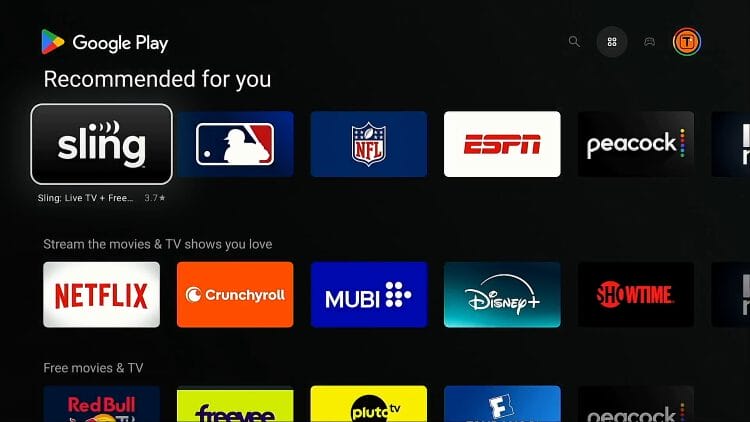

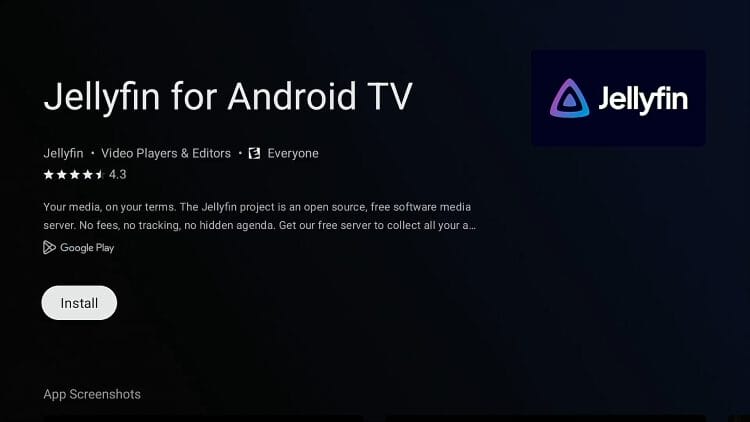
2 Search Jellyfin and click Install.

3 Before you open Jellyfin, make sure that your streaming device and your PC are on the same network.
4 When you open Jellyfin, you should see the server that you made, as long as you are connected to the same network.
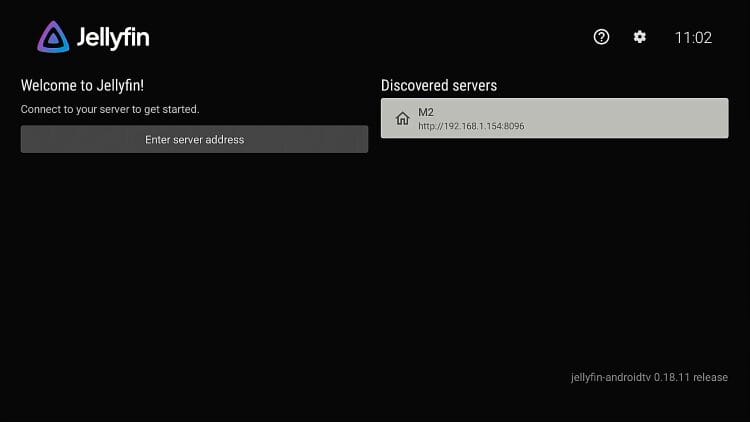

5 After opening the server, click “Add account.”
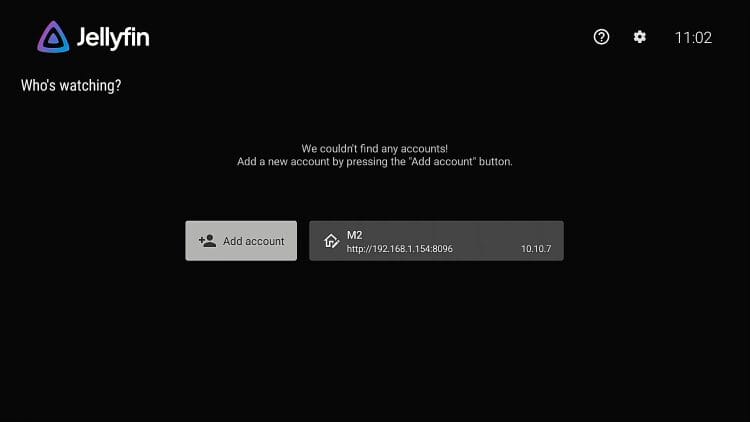

6 Click “Use a password”, and sign in with the username and password you made earlier.


7 You will now be brought to the Jellyfin homepage.
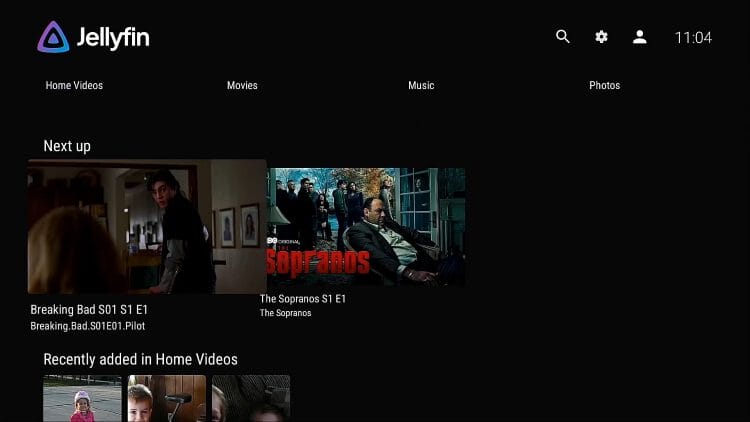

8 If you are having any trouble with a movie showing up correctly, make sure you are using the proper file naming instructions outlined above. I will show how to fix missing artwork below.


9 There are multiple settings that you can change based on your preferences.


Step 5: Fix Missing Artwork on Jellyfin Server
1 If artwork isn’t showing, click on the three dots next to in, then click “identify.”
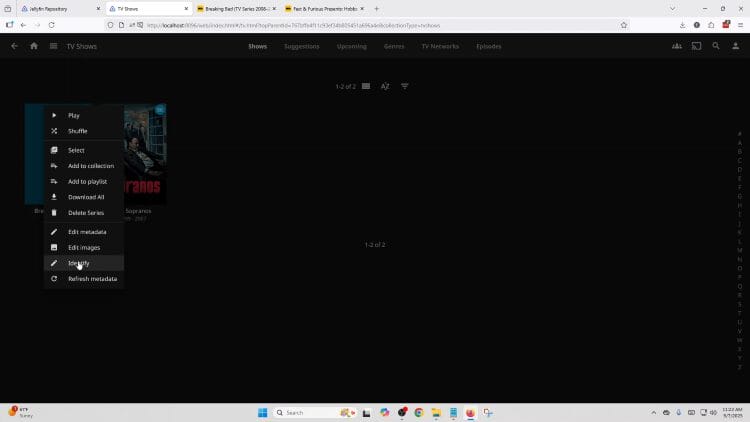

2 We then recommend opening up IMDB to make sure that all the info you type in is correct. You can then select the movie or show that you wanted.
This can also be used to change the cover art of a movie/show that you don’t like.


Please remember that this is a quick-start guide and meant to get you up and running quickly!
We are looking forward to providing additional tutorials in the near future.
Tell us in the comments below what you currently use Jellyfin for.
This page includes affiliate links where ASTV may receive a commission at no extra cost to you. Many times, visitors will receive a discount due to the special arrangements made for our fans. Learn more on my Affiliate Disclaimer page.

[ad_2]
Source link

